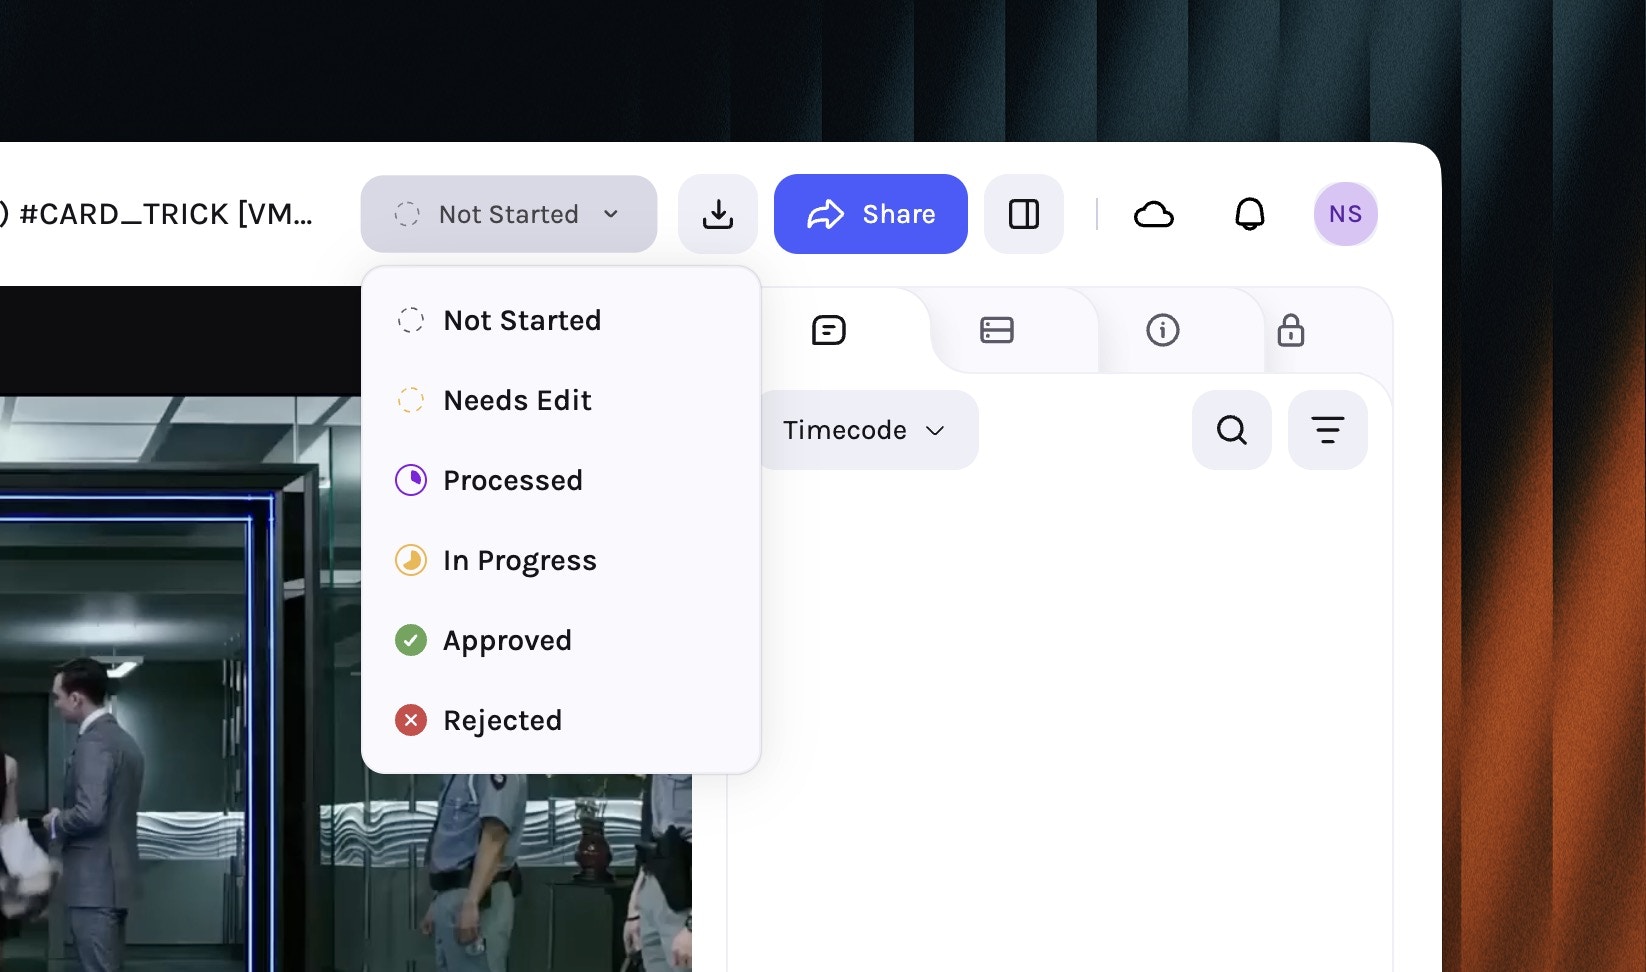
Custom statuses let you translate how your organisation tracks asset progress directly into Tessact’s Library. Instead of being limited to default labels, you can now define the precise stages your editors, compliance teams, or delivery partners recognise—plus the colours and icons that make those stages scannable at a glance.
Status pills in the Library table view
Clarity in context: Status pills render next to every asset card/row so teams instantly know where work stands.
Filterable metadata: Status becomes a first-class filter in Grid/Table views, quick search, and exports.
Automation-ready: Every status value emits events you can capture via Zapier integrations or multi-agent Workflows to move work forward automatically.
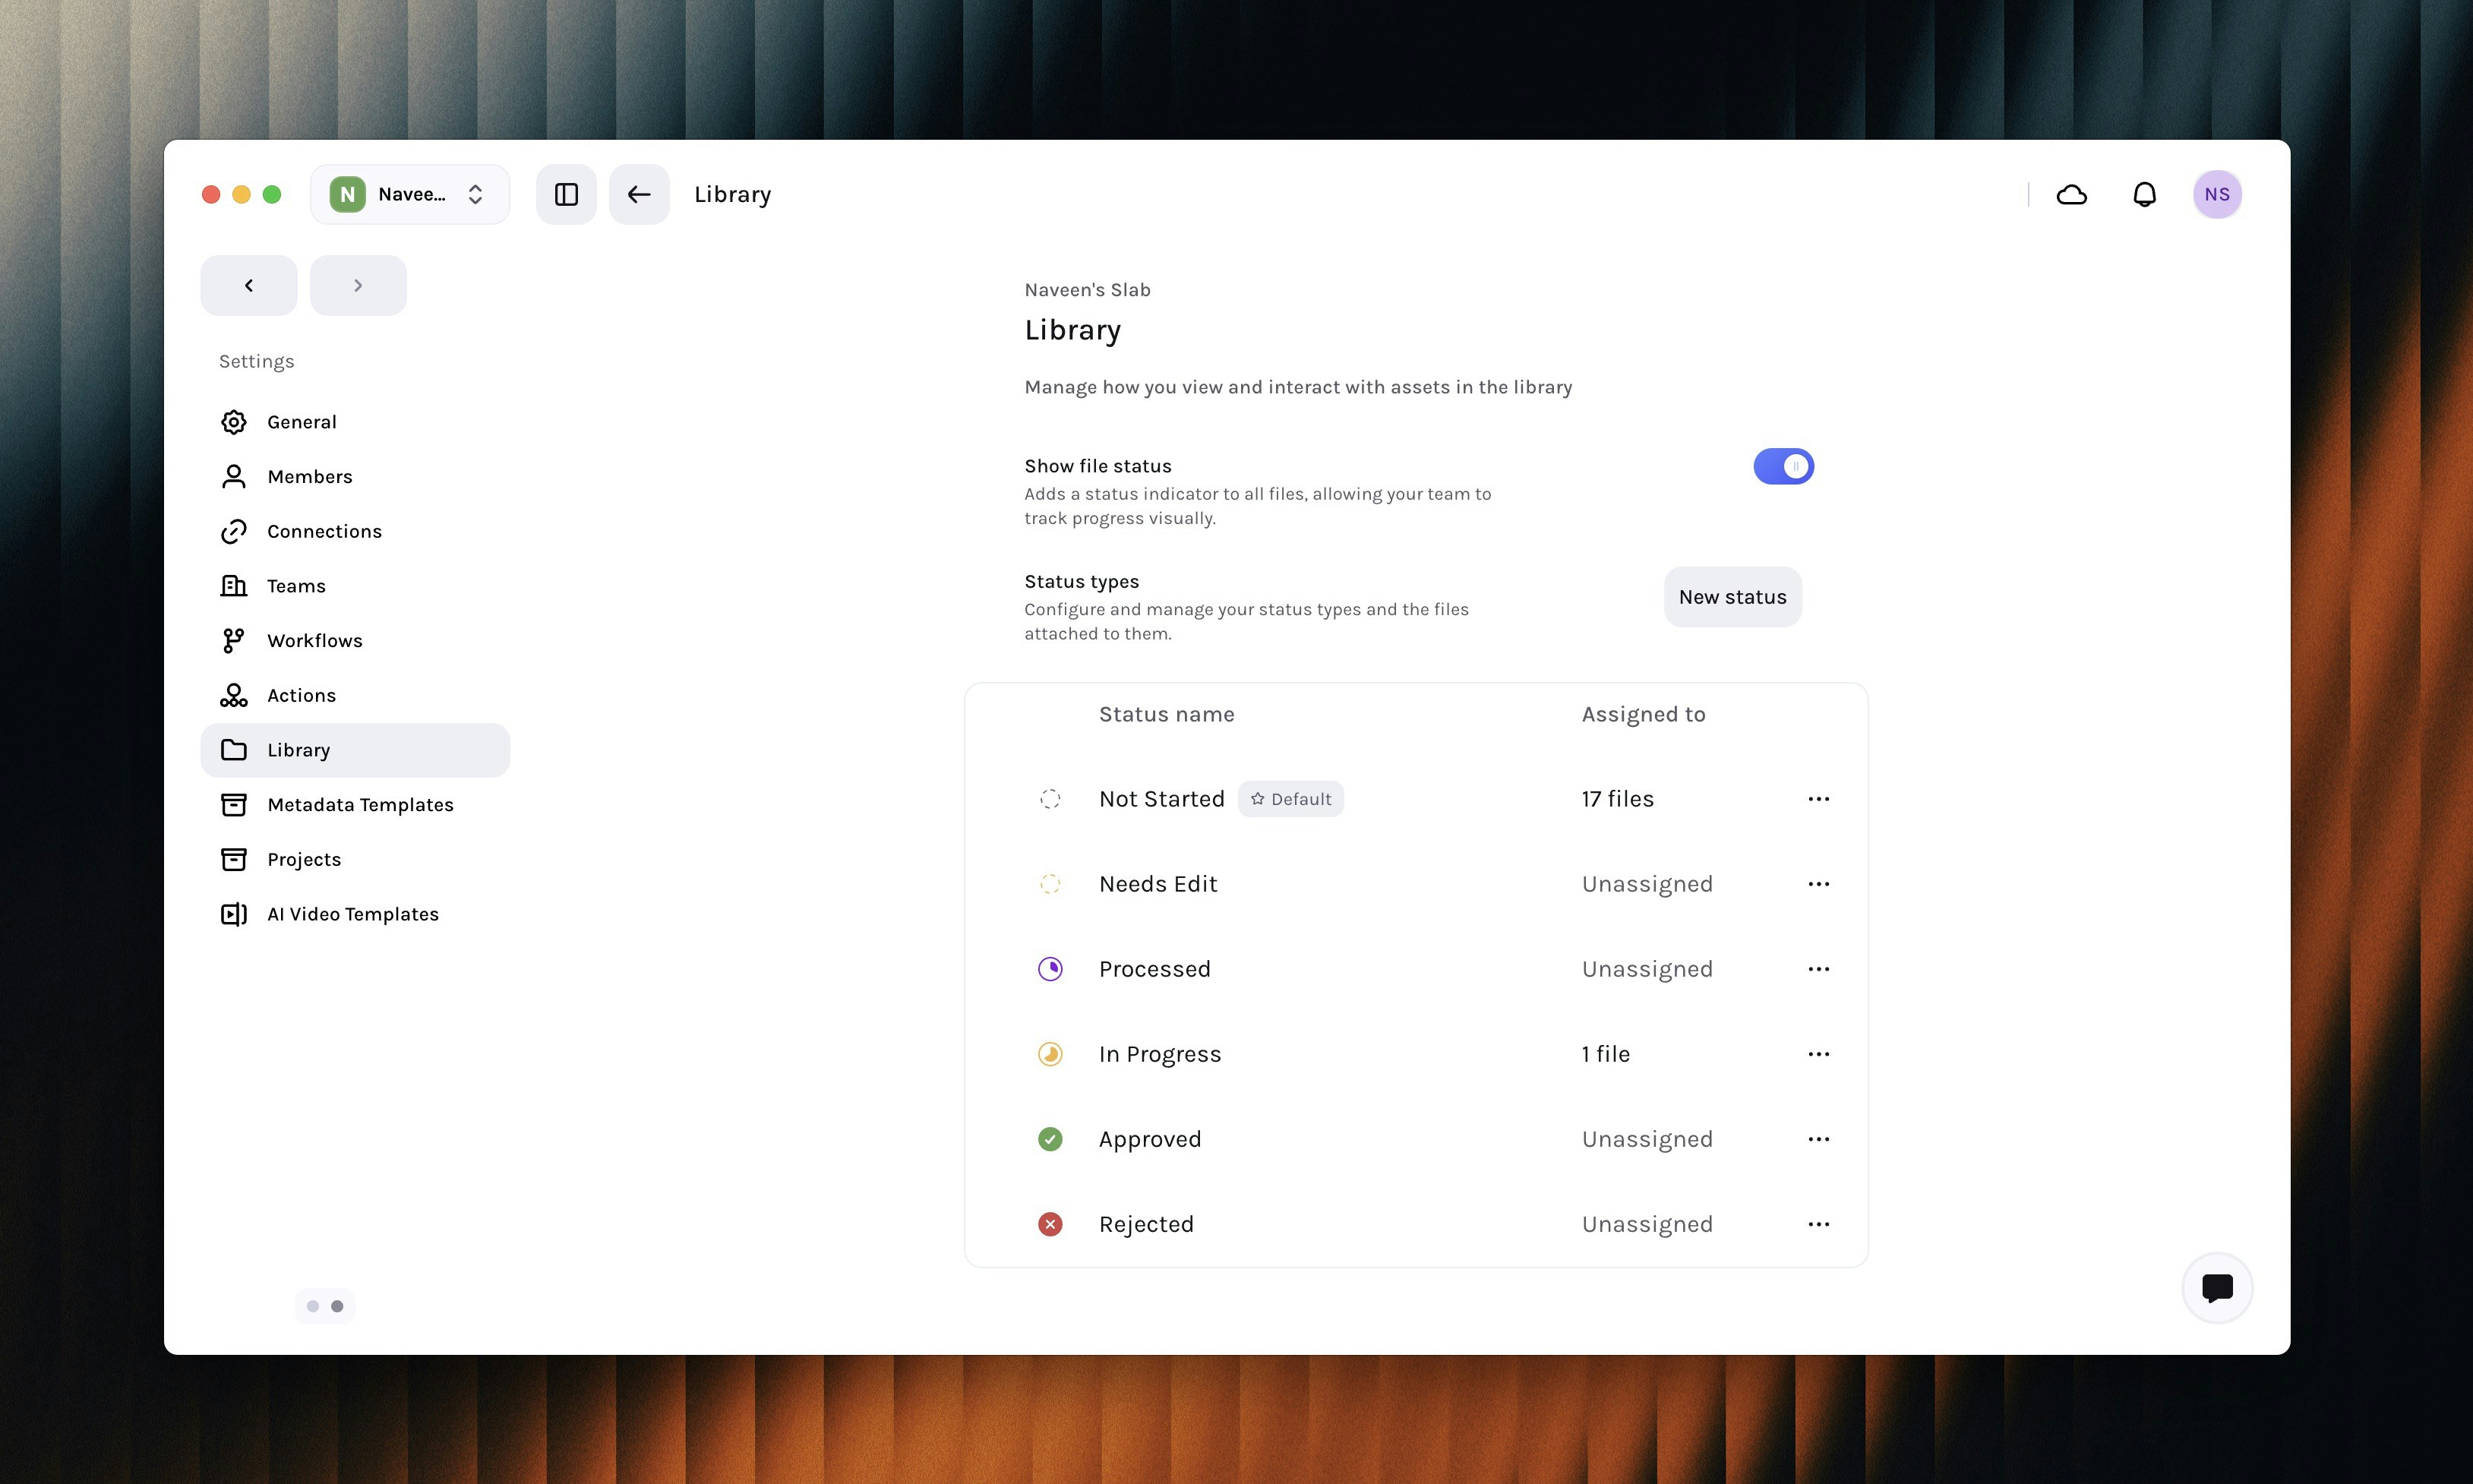
Custom statuses live under Settings → Library → Statuses. Tessact stores the entire catalogue per workspace, so every team draws from the same canonical list.
1
Open Settings → Library
Navigate to Settings → Library and open the Statuses panel to review existing options.
Status catalogue inside Library settings
2
Create a new status
Click New Status to add another milestone to the catalogue. Give it a clear name, pick an icon, and choose a colour that contrasts with your other statuses.
Defining the label, colour, and icon
3
Set defaults and ordering
Turn on Set as default if every new asset should begin in this state. Drag the handle on the left of each status to reorder the list; that order flows through to pickers in the Library.
4
Save and maintain
Click Create status (or Save) to publish changes. Use the ⋯ menu beside any status to rename, change colours/icons, or archive values you no longer need.
Archived statuses remain searchable for historical assets but disappear from new assignments, keeping reports intact.
Group related statuses by colour family (e.g., Production in blue, QC in orange, Delivery in green) so operators can skim long tables faster.
Statuses are editable anywhere you work with assets:
Single asset
Bulk update
Context menu
Open an asset preview or details drawer and choose a new value from the Status dropdown. Changes apply instantly and log to the asset history.
Select multiple files in Grid/Table view, then use the Update Status action in the multi-select bar. Every selected asset adopts the new value in one click.
Right-click (or tap ⋯) on any asset row/card to access Change status alongside rename, move, and share actions.
Only users with Library edit permissions (or higher) can change statuses. View-only roles still see the pills for awareness but cannot modify them.
Custom statuses become powerful once you wire them into downstream systems:
Workflow triggers: Status changes can act as Inputs/Outputs in Multi-Agent Workflows. For example, emit Promo.QC → Output: QC_Passed to automatically start a Publish step.
Zapier & webhooks: The Zapier connector exposes File status change events, so you can branch automations based on your custom labels (e.g., ping localisation vendors when status becomes Ready for Dubbing).
Notifications & dashboards: Saved searches, dashboard widgets, and SLA alerts can key off statuses, ensuring stakeholders only see the slices of work relevant to them.
Whenever you add a new status in Settings, it is instantly available in workflow wiring, API responses, exports, and third-party automations.
Learn how grid and table views expose status metadata across millions of assets.
Automate with Workflows
Wire custom statuses into multi-step, multi-agent automations.
Connect downstream tools
Use Zapier to notify teams or external systems whenever a status changes.
With custom statuses in place, your Library mirrors the exact lifecycle your teams already follow—making it easier to see blockers, automate repetitive hand-offs, and deliver assets faster.