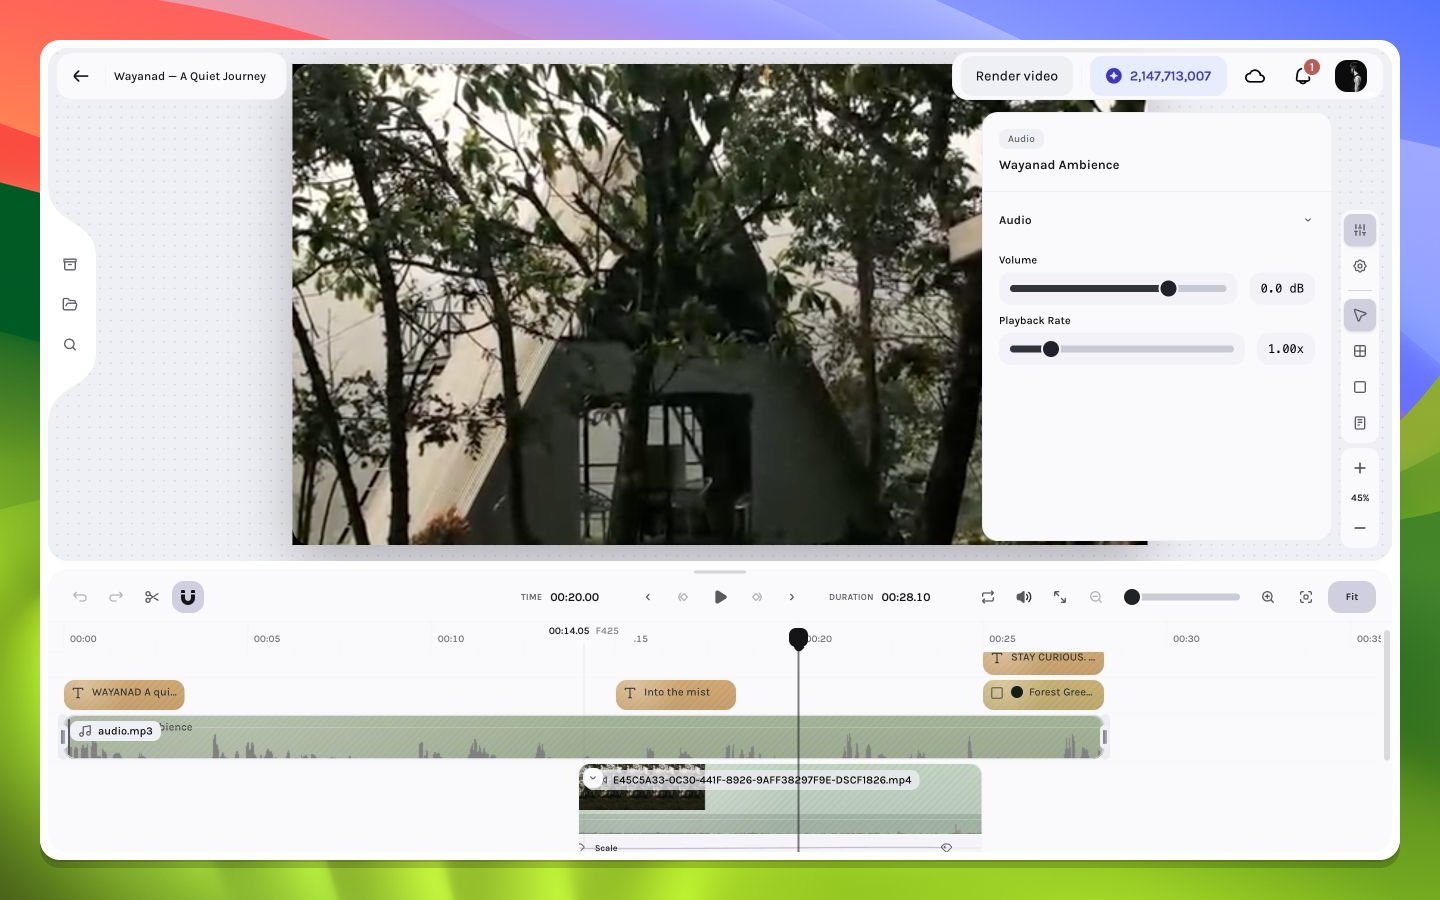
The control ranges from 0.25× to 5× in 0.05× steps. Increasing rate advances through source samples faster and never expands the layer: duration is capped by the current interval and remaining source. Decreasing rate consumes samples more slowly and tries to expand the interval, stopping at the nearest same-track collision and then at any parent bound. The update does not clamp existing fades or keyframes, so recheck sound-effect synchronization, music beats, fade duration, animation lanes, and the new source tail.
Treat layer volume as one stage in the mix. Effective output also depends on fade gain, mute state, overlapping layers, and preview mute. Avoid compensating for a muted or faded layer by pushing base gain unnecessarily high.
Because audio-only layers do not render visual geometry, canvas clicks cannot reliably select them. Use the timeline row. A selected audio layer can remain active while the canvas shows only unrelated visual layers.
Name or arrange audio rows by role—narration, music, ambience, effects—so mute-based isolation remains understandable late in the edit.